Dare to Dream - Stampin Up Hostess set

I love a number of sets from the new catalogue, I think that this years selection of hostess sets are amazing. I know a lot of demos have been using the in the city set. I do love that set and I have made a number of beautiful cards with it. However one of my favourites is 'Dare to Dream'

There are so many combinations in the sayings, with the main words being, dream, sweet and adventure. My favourite being 'you are my favourite adventure.'

I love the font and it comes with some amazing pictures as well including a gorgeous hot air balloon. I teamed the sentiment with stamps and dies from the Colourful Seasons bundle. I also used one of the Old Olive papers from the Colour Theory DSP. I love the ombre effect on some of the papers, but I also like the crackling effect.

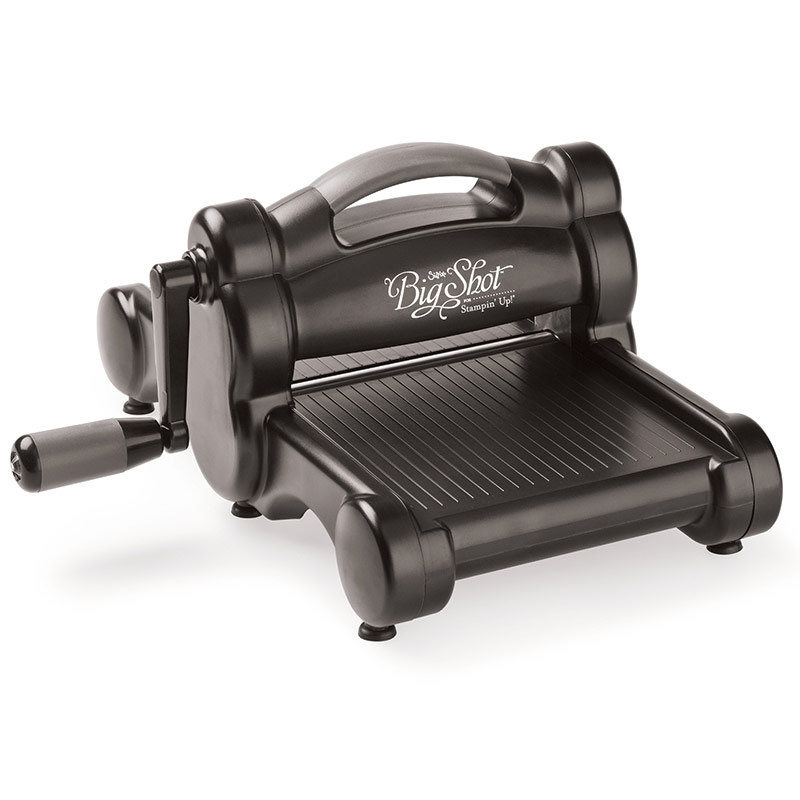
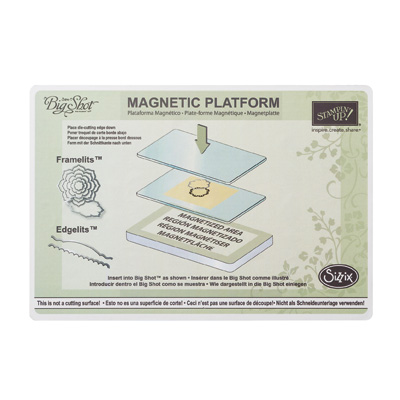
I used a 10.5 x 14.8 card base in Whisper White Thick. I added a 4.5cm strip of Whisper White and a 4.5 cm strip of Colour Theory DSP, which I stamped with the flowers in Black Archival ink. I added a 1cm strip to the centre and then added the chair. If you are using the normal or magnet base, you will need to run the die through a number of times. I tend to run it through 3 times

I love the Colour Theory DSP, but had to draw myself away from the Berry Burst. I see more cards using both these sets in my future.

dare to dream.png
post-signature.png

Birthday Wishes

What do you make when you need an 18th birthday card? What do you need if you need to make two? My other halves nieces turned 18 last  Saturday. We had an amazing evening at 'The Attic' at Blackpool Pleasure Beach. Also we saw at amazing firework display which was put on just for them! (not really the Pleasure Beach have been doing a display at 10pm Saturdays for a few weeks.)

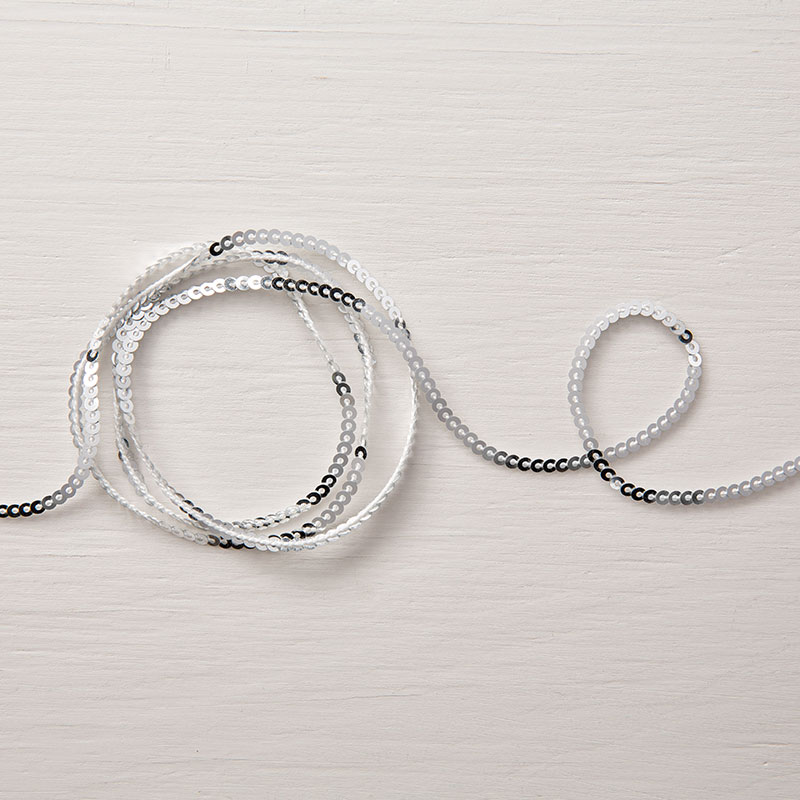
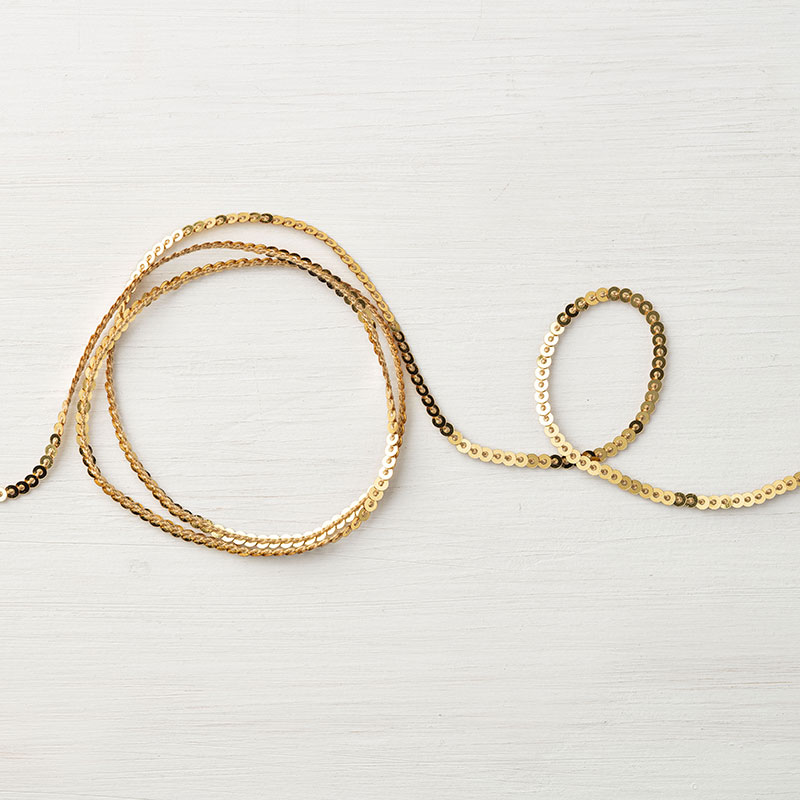
So I was faced with the dilemma of a card to make for the twins. So I decided to do one in Gold and one in Silver. I was inspired by a new baby card (Sorry E+K) but decided that having their names on the cards would be a cute gesture, very personalised. I did a prototype but decided that the sequins were too much (I originally used the retired metallic sequins).

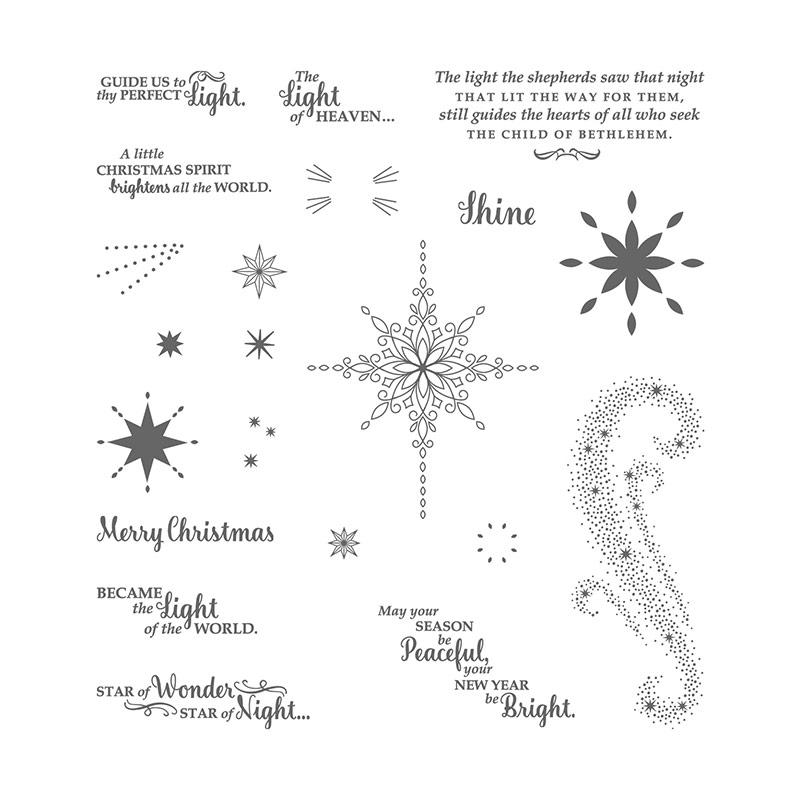
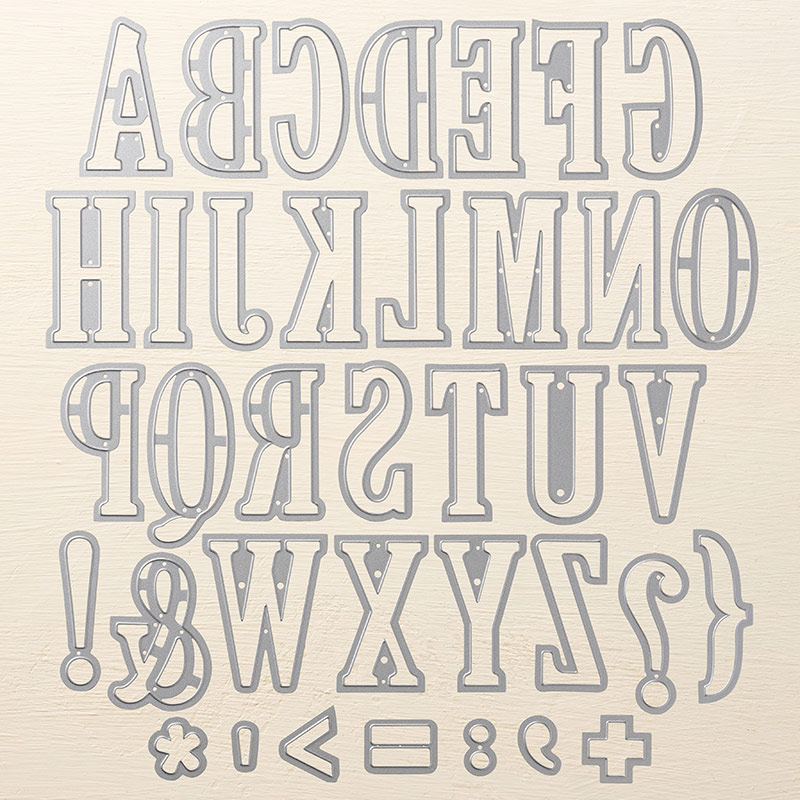
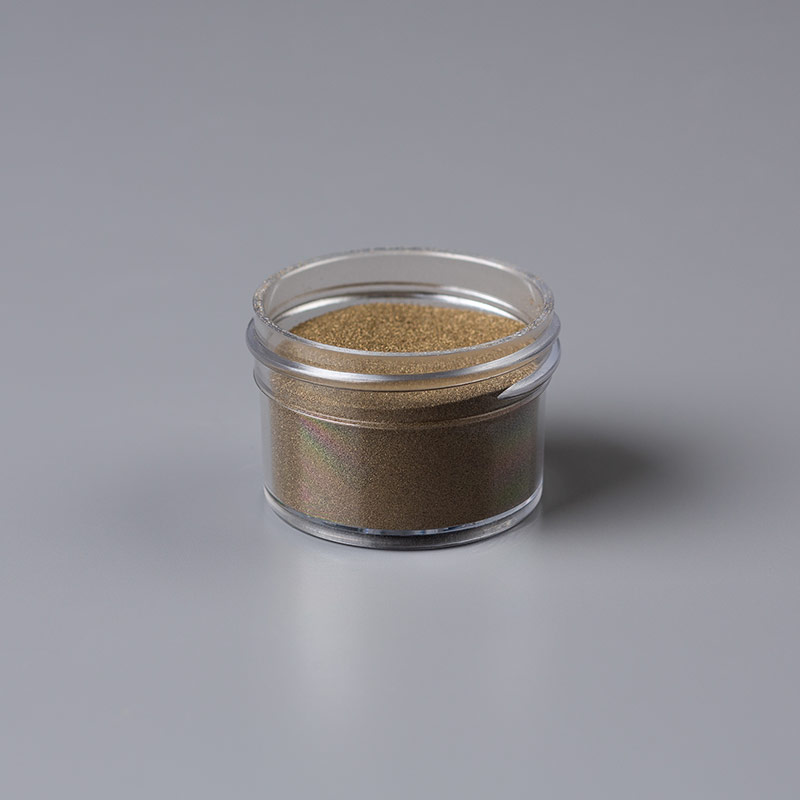
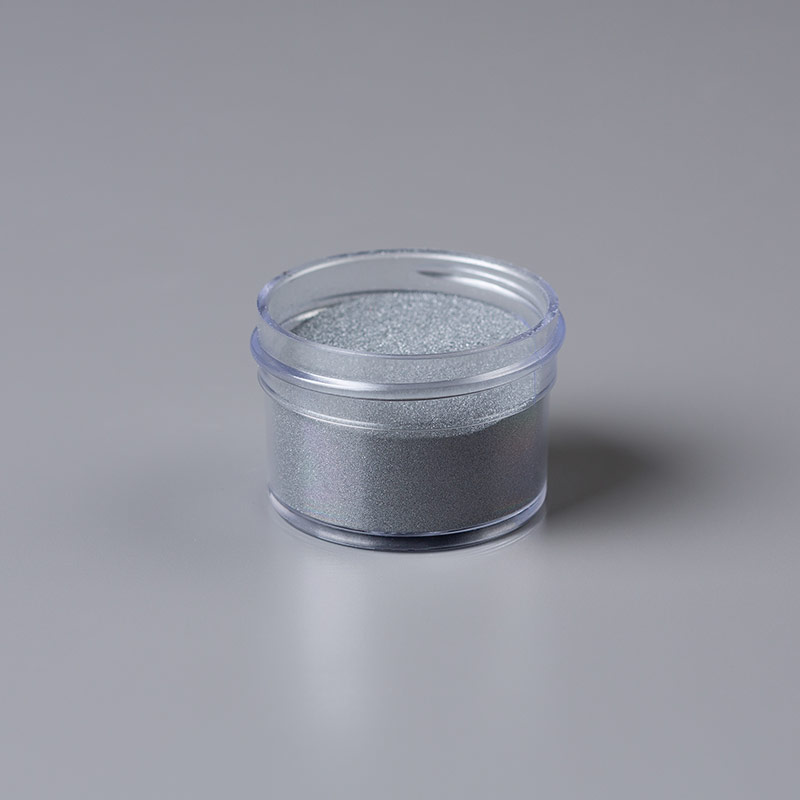
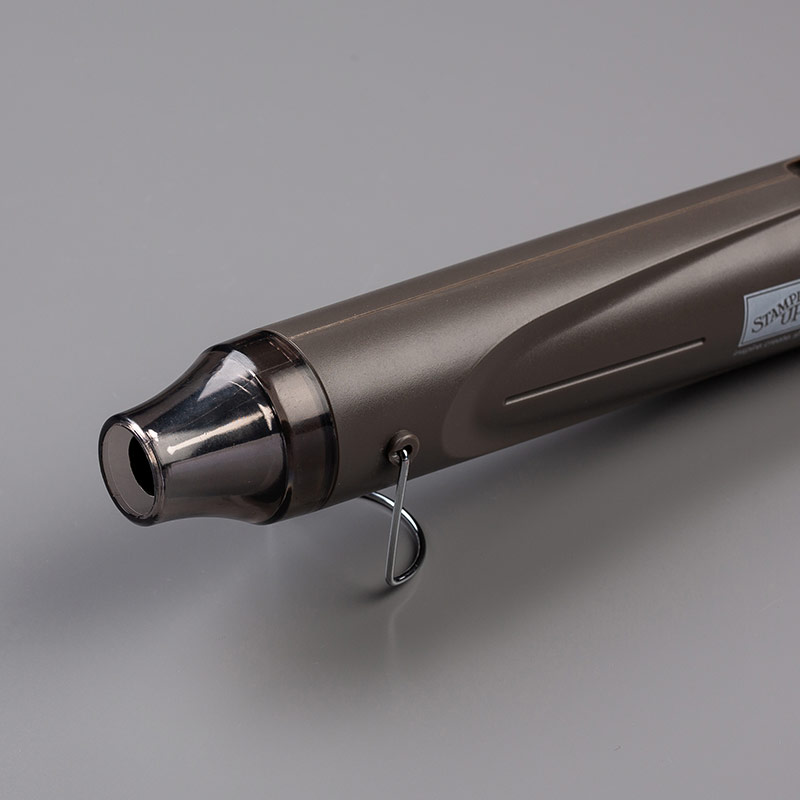
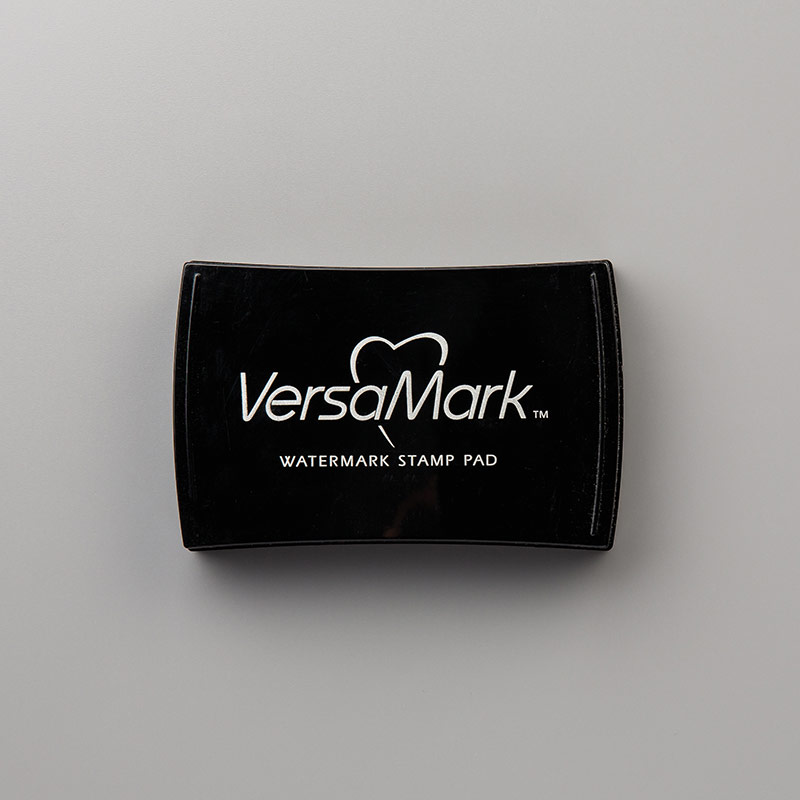
I used the large letters dies, and stamped them with stars from the 'Star of Light' set using Versamark ink. I heat embossed using Gold and Silver embossing powder. I added a silhouette by cutting the letters out again in black and slightly offsetting them behind the white letters. I then decided they needed more umph! so added sequins from the mini trim. The trim can be used as a trim and also be separated to use the sequins individually.

I was really pleased with how these turned out. I hope the girls likes them too.

Learning all the time

Although I have been crafting for a while, I am still learning. Every time I make a card, I learn something else. You Tube is always a good place to start.

 Over the last few weeks I have also been learning that some of the pictures of my cards are not as clear as they could be. So I have been reviewing how to convert the information from my phone in to a useable format for my blog. Who knew about pixels and ratios. Not me.

So I have been practising. Both making cards, I am on a mission to make 5 examples with each stamp set I own.

My practice picture is a favourite of mine, this was a hostess set which retired last year (the thread is current!). But I still think it is a gorgeous example of watercolouring and what you can create with paper and ink. I will show my examples of the cards I have made with my sets over the next few weeks. Also a perk of being a demo is that you get to order from the new catty. I cant wait to play, so excited!

Berry Bursting Delightful Daisies

I am in love in Berry Burst, it is such a vibrant colour. Every time I go in to my craft room I seem to be drawn to it, even thought I try not to be. I have had to put the Daisy Stamp and Berry Burst away to ensure that I do not use them on every card. I love them so much. I had thought that I used up all the card, but then I found some more. Yippee.

The Daisy's were made using the same technique as last time, stamping on top of each other to create daisy's with more petals. I then added watercolour to the central daisy. I think it would look better with a black layer behind the white card. The happy birthday is from the watercolour words set. I went back and forward to using the stylised birthday, the letterings are similar but this is the smaller version.

 I am off to play in the craft room, I have so many more pretty items to make.

Daisy Delight

I love the Delightful Daisy bundle, it is one of my favourite sets in the new catalogue. The punch is amazing and lots of other people, both customers and Demos love it to. It is loved so much it is not available to order at the moment. But it should be back soon.

What I love about this bundle is the versatility, you do not need to use the punch to make gorgeous cards. Their are so many gorgeous flowers to choose from.

For this card,  I took a 14.3x10cm layer of Whisper White and choose the large daisy and stamped it in black, I stamped in twice on some of the flowers and three times on others by moving the stamp to create more petals. I decided to add some colour, so added Dapper Denim ink using an Aqua painter.

stamped the happy birthday from the Birthday Banner set in Dapper Denim, then punched it out using the Classic Label Punch. I added a black border by cutting two punch out and connecting them together. I added the layer on to base of Dapper Denim.

Hope you like it, what will you make today?

.