Cardmaking Basics

hello dear friend.jpg

Todays post is a bit different, I feel a bit like it is the twilight zone, don’t adjust your sets :)

After a large number of awful mistakes culminating in me droping a glass bottle on the floor I decided to film a different video than I was trying to film (it was awful, glue every except where it was supposed to go and ink dropped on cards.)

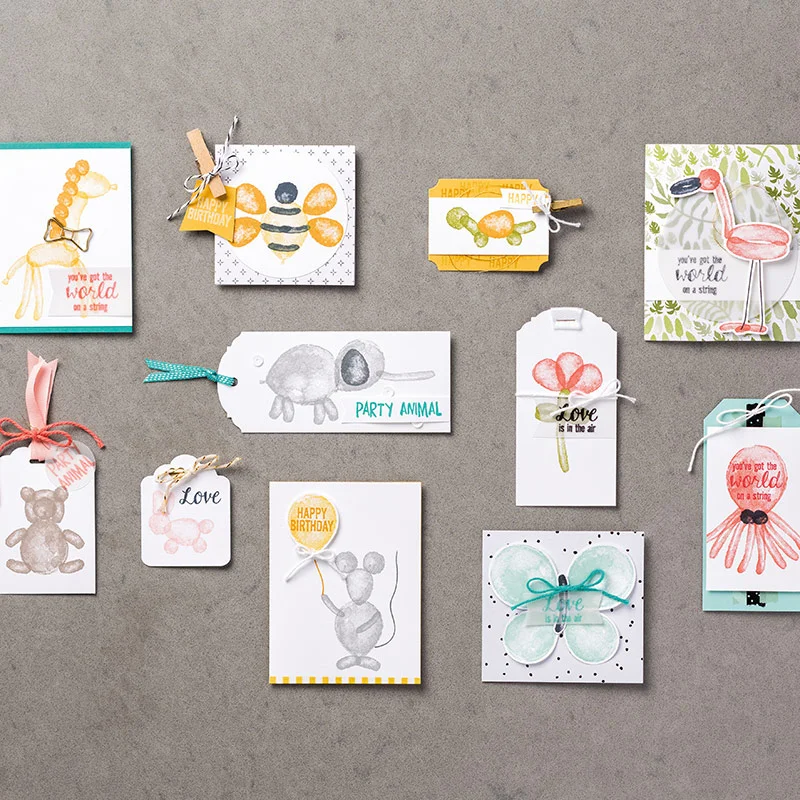
So I decided to film a new to stamping video.

My favourite item to recommend to a new stamper is a kit. I love the all inclusive kits as they contain all you need. They have card bases, envelopes, stamps, inks, dimensionals and also the embellishments. Another bonus is they have a block so if you are new to stamping you don’t have to buy a block. The only other things that I recommend is glue and also scissors.

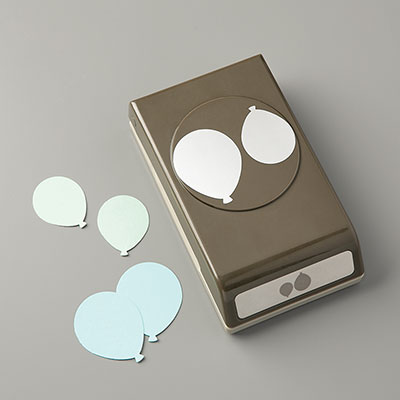
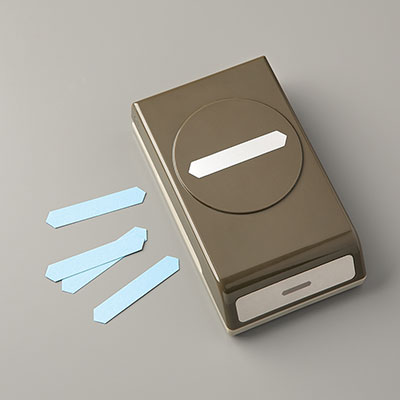
If you know stamping is for you, I then recommend note cards, they come with envelopes - no cutting (whcih i think is a bonus,) You can add ink and punch pieces for quick simple cards. I also use the stamps from previous kits I have to make super cute cards (everyone loves a handmade card!) I would recommend getting one ink collection, my first collection was the subtles, but the in-colours come in 5’s rather than 10’s so can be good to play with at a more reasonable price.

Ink pads.jpg
dragonfly garden.jpg

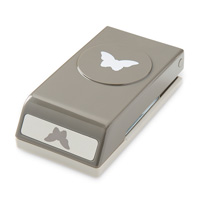
I think that any stamp set with a punch is perfect. I am in love with the dragonflies, for birthdays I recommend the Sweet Ice Cream bundle for birthdays and the Snowman Seasons for Christmas.

icecreambig.jpg

What do you think are the essentials for crafting? Have I missed something?

post-signature.png

Simple Ink blended Snowman Seasons cards

I decided that I would doesomething slightly different today and use the Snowman Builder Punch. It is a super cute punch which creates the snowman, a hat, a nose and two arms when punched. It makes quick simple cards and tags really easy and multiple card making a dream.

I have also been inspired by a number of butterfly cards recently which has ink blended backgrounds. I am in love with the new blender brushes. I have a collection, from Amazon to make up brushes and even other companies. The new Stampin’ Up! brushes are super soft and amazing at creating gorgeous backgrounds.

My tips for using a blending brush are keep a brush for each colour family, tap off the excess ink before blending the colour on the card and use a light touch, you can add colour but you can not remove excess.

3.png
4.png

Card Measurements

My Metric

10.5 cm x 14.5 cm (10.5cm x 29cm scored at 14.5cm)

Inside White Panel – 9.5cm x 13.5cm


Metric

10.5 cm x 14.8 cm (10.5cm x 29.6 scored at 14.8cm)

Inside White Panel – 9.5cm x 13.8 cm


Imperial

4." x 5.5" (4 x 11” scored at 5.5”)

Inside White Panel – 3.5 x 5”

Snow Options

There are a number of ways to add Snowflakes:

  1. Using the Stampin’ Chalk Marker

  2. Using a Blender Pen and the Uninked Pad with white refill

  3. Stamping the snowflakes in the White ink

  4. Any white pen/ gel pen.

6.png
5.png

I love that you can change the look of the Snowperson on every single card. What is your favourite embellishment?

post-signature.png

Where to Start? Part 2

Yesterday we covered tools, today I will look at what Stampin Up do best, ink, paper and stamps! Yipppeee! There are so many! I would recommend for a new stamper to buy. There are a number of cards which I make regularly, Happy Birthday, Happy anniversary and Thank You.

I love Balloon Builder, it makes the most gorgeous cards and balloon animals and includes a few sentiments that will cover you for Valentines day too!

Stampin up! shows off its potential on of their catalogue pages I love the Bear and the Elephant! That doesn't mean that you cant just use the stamps as balloons, but that you can be as imaginative as you like.

One of my favourite combos for the balloons is the 2015-2017 In Colours. These work amazingly together and give a good indication of the quality of the ink and paper. I would also recommend choosing one of the other collections. I personally use the Subtles more than the others, but have also expanded into the Neutrals. Slightly addicted to Pool Party!

I am off to play with Balloons...

Where to start? Part 1

Tomorrow is the launch of the new Spring/Summer catalogue, it is also the launch of Sale-a-bration! That is when for every £45 (before P&P) you spend you can choose a FREE item, did I mention it is Free!

The Sale-a-bration is the perfect time for new stampers to invest in their kits. In an earlier post I recommended buying one of Stampin Up pre made kits. But sometimes I know people would like to be creative

I would recommend the following to a new stamper:

Bone Folder: this is to fold and crease paper, an essential for cards and 3d crafts

Stampin Pierce Mat: this has a dual use but is amazing to help get clear Photopolymer images.

Dimensionals:  the original shape make it perfect to add Dimension to cards.

Tombow: this is an amazing glue, which dries clear. It can be used for cards and 3d items. 

Grid Paper: I can still get a few items skew wiff, but this helps to make things straight and you can test the straight ness of the stamps.

Whisper White Note Cards and Envelopes: these are amazing card blanks, which can be used to make quick easy cards. This set includes envelopes so there is no need to make your own.

Punches: I would recommend a few punches in the first instance. I love the Big shot and dies, but until you are really sure that card making is for you, I would recommend some punches. I love the circles, you will see lots of cards with the butterflies and for Birthday cards who can resist the Balloon Bouquet? I also recommend the Classic Label Punch (wonky words be gone!)

Guess what, if you buy all my recommendations but choose just one punch you will qualify for a Sale-a-Bration item for free! Time to start your Stampin Up! collection you wont regret it!

Tomorrow I will talk stamp sets, come back soon!